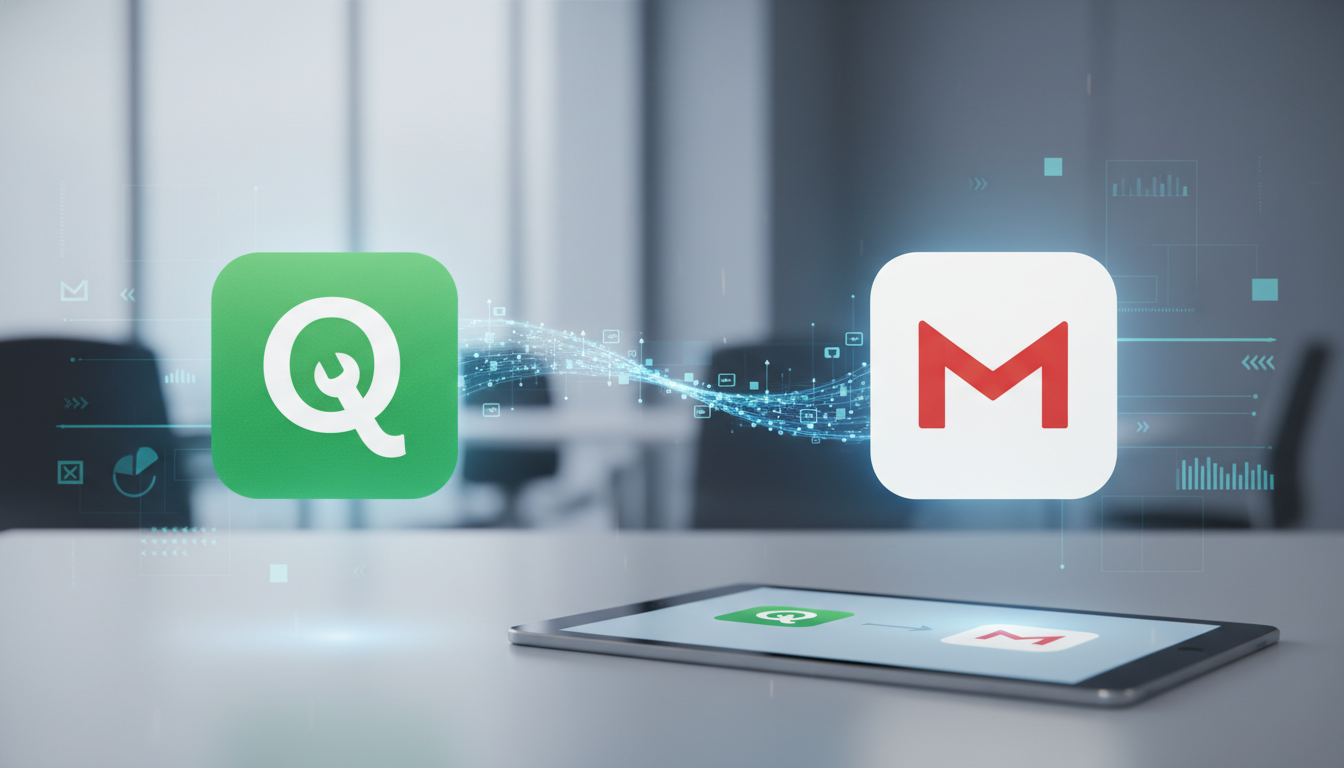
How to Connect QuickBooks to Gmail for a Seamless Workflow
For small business owners, freelancers, and accountants, context switching is the enemy of productivity. You spend half your day in your inbox and the other half in your accounting software. The constant toggling between QuickBooks Online (QBO) and Gmail isn’t just annoying; it leads to data entry errors and lost time.
Integrating these two powerhouses solves two specific problems: maintaining professional branding when sending invoices, and accessing financial context when reading client emails. In this guide, we will cover how to bridge this gap in two directions:
- Part 1 Outbound: Configuring QBO to send invoices directly through your Gmail account so they don’t look like generic automated messages.
- Part 2 Inbound: Using Automagical Nudge to view QuickBooks customer data directly inside your Gmail inbox.
Part 1: Sending QuickBooks Invoices via Your Gmail Address
By default, QuickBooks Online sends invoices from a generic Intuit email address (e.g., quickbooks@notification.intuit.com). While functional, this can cause deliverability issues or land your invoices in the “Promotions” tab. Furthermore, you don’t get a copy in your own “Sent” folder, making it hard to track communication history.
Connecting your Gmail account allows emails to come directly from you.
Why This Matters
When an invoice comes from your actual email address, trust increases. Your client sees your name, not a software notification. Additionally, having a record of the sent invoice in your Gmail “Sent” box creates a centralized audit trail for communication.
Step-by-Step Configuration
- Log in to QuickBooks Online: Open your dashboard.
- Open Settings: Click the Gear icon in the top right corner and select Account and Settings.
- Navigate to Sales: Click on the Sales tab in the left-hand menu.
- Edit Messages: Scroll down to the Messages section and click the pencil icon to edit.
- Link Gmail: Look for the option that says “Send emails from.” If you haven’t connected yet, you will see a button to Connect your Gmail account.
- Authorize: A Google popup will appear asking for permission to allow QuickBooks to send emails on your behalf. Click Allow.
- Save: Once linked, ensure the “Send emails from” toggle is set to your Gmail address and click Save.
Pro Tip: After setting this up, send a test invoice to yourself (or a test customer account) to ensure the formatting looks correct and the email lands in the primary inbox.
Part 2: Bringing QuickBooks Data INTO Gmail with Automagical Nudge
Part 1 handles sending money requests out, but what about when a client emails you? Often, a client will email asking, “Do I still owe you for the consultation last month?” or “Did you receive my check?”
Traditionally, you would have to stop what you are doing, open a new tab, log into QBO, search for the client, check the balance, and then go back to Gmail to reply. This is where Automagical Nudge fits in essentially acting as a bridge that pulls QBO data right into your Gmail sidebar.
Why This Matters
Having financial data visible immediately next to an email thread provides instant context. You can see open balances, recent invoice history, and customer details without leaving your inbox. This speeds up response times and helps you collect payments faster.
How to Set Up Automagical Nudge
- Install the Add-on: Go to the Google Workspace Marketplace and search for Automagical Nudge. Click Install.
- Open Gmail: Refresh your Gmail tab. You will see the Nudge icon appear in the right-hand sidebar (the side panel where Calendar and Tasks live).
- Connect QuickBooks: Click the icon. You will be prompted to sign in to your Intuit/QuickBooks Online account to authorize the secure connection.
- Open an Email: Open an email from a customer who exists in your QuickBooks database.
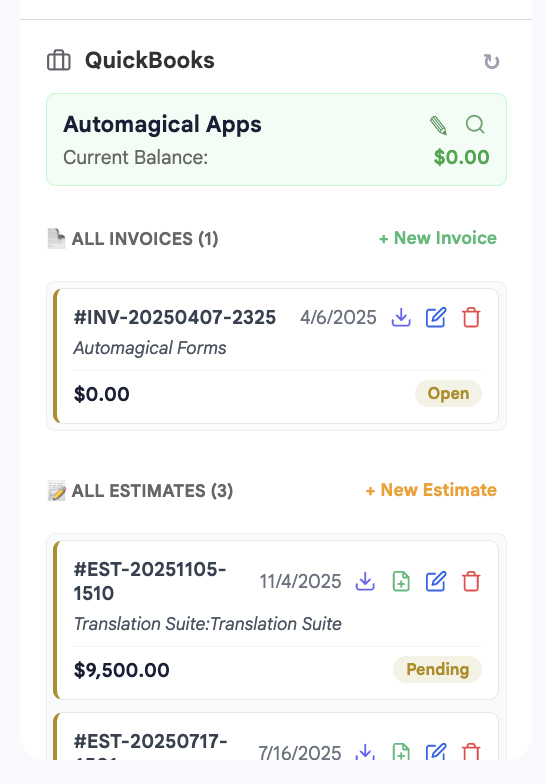
- View Data: The sidebar will automatically “nudge” you with relevant information, such as:
- Total balance due.
- Status of recent invoices (Paid/Overdue).
- Last payment date.
Real-World Example: The “Status Check”
Imagine you are a marketing consultant. You receive an email from “Acme Corp” discussing a new project. With Automagical Nudge open, you immediately see in the sidebar that Acme Corp still has an overdue invoice from three months ago.
Instead of blindly agreeing to new work, you can reply: “I’d love to start on this! I noticed invoice #104 is still outstanding. Can we settle that before kicking off the new campaign?” You’ve just turned a standard email into a collections success without opening QuickBooks.
Common Pitfalls and Best Practices
While these integrations are powerful, there are a few things to keep in mind to ensure smooth sailing.
1. Authentication Tokens Expire
For security reasons, the connection between Gmail and QuickBooks (both inbound and outbound) may expire periodically. If you notice emails aren’t sending or the Nudge sidebar isn’t loading data:
- The Fix: Simply re-authorize the connection in QBO Settings or the Nudge sidebar. It takes 30 seconds and solves 99% of connectivity issues.
2. Matching Email Addresses
For Automagical Nudge to work, the email address the client is using to message you must match the email address listed in their customer profile in QuickBooks.
- The Fix: If Nudge doesn’t show data for a known client, check QBO to ensure you have their current email address saved in their customer file.
3. Separation of Duties
If you have employees using your Gmail, remember that granting access to Nudge may allow them to see financial totals. Ensure your permissions align with your privacy policies.
Conclusion
Connecting QuickBooks and Gmail transforms your email inbox from a simple communication tool into a financial command center. By linking your outbound settings in QBO, you professionalize your invoices. By using Automagical Nudge, you gain the visibility required to make smarter business decisions without tab-switching fatigue.
Next Step: Start with Part 1 today. Log into your QBO settings and switch your email delivery method to Gmail to ensure your invoices are landing where they belong—in your client’s primary inbox.