
Setting Up Automagical Nudge for Automated Gmail followups
Ever send a crucial email, only for it to vanish into the void with no reply? Manually tracking follow-ups is a recipe for missed opportunities. Automagical Nudge solves this by transforming your Gmail into a smart follow-up machine. It allows you to build automated email sequences and gives you a powerful dashboard that catches every unreplied email, so you always know what needs attention. In this guide, we’ll walk you through the quick setup of both the Chrome Extension for the ultimate desktop experience and the Gmail Workspace Add-on for managing follow-ups on mobile.
Objective
This outlines the steps to install and set up the Automagical Nudge add-on and Chrome extension for effective email management. We recommend that you install the Chrome Extension for the best desktop use experience, and the Gmail Workspace Add-on if you need to use the tool in the mobile app.
Key Steps
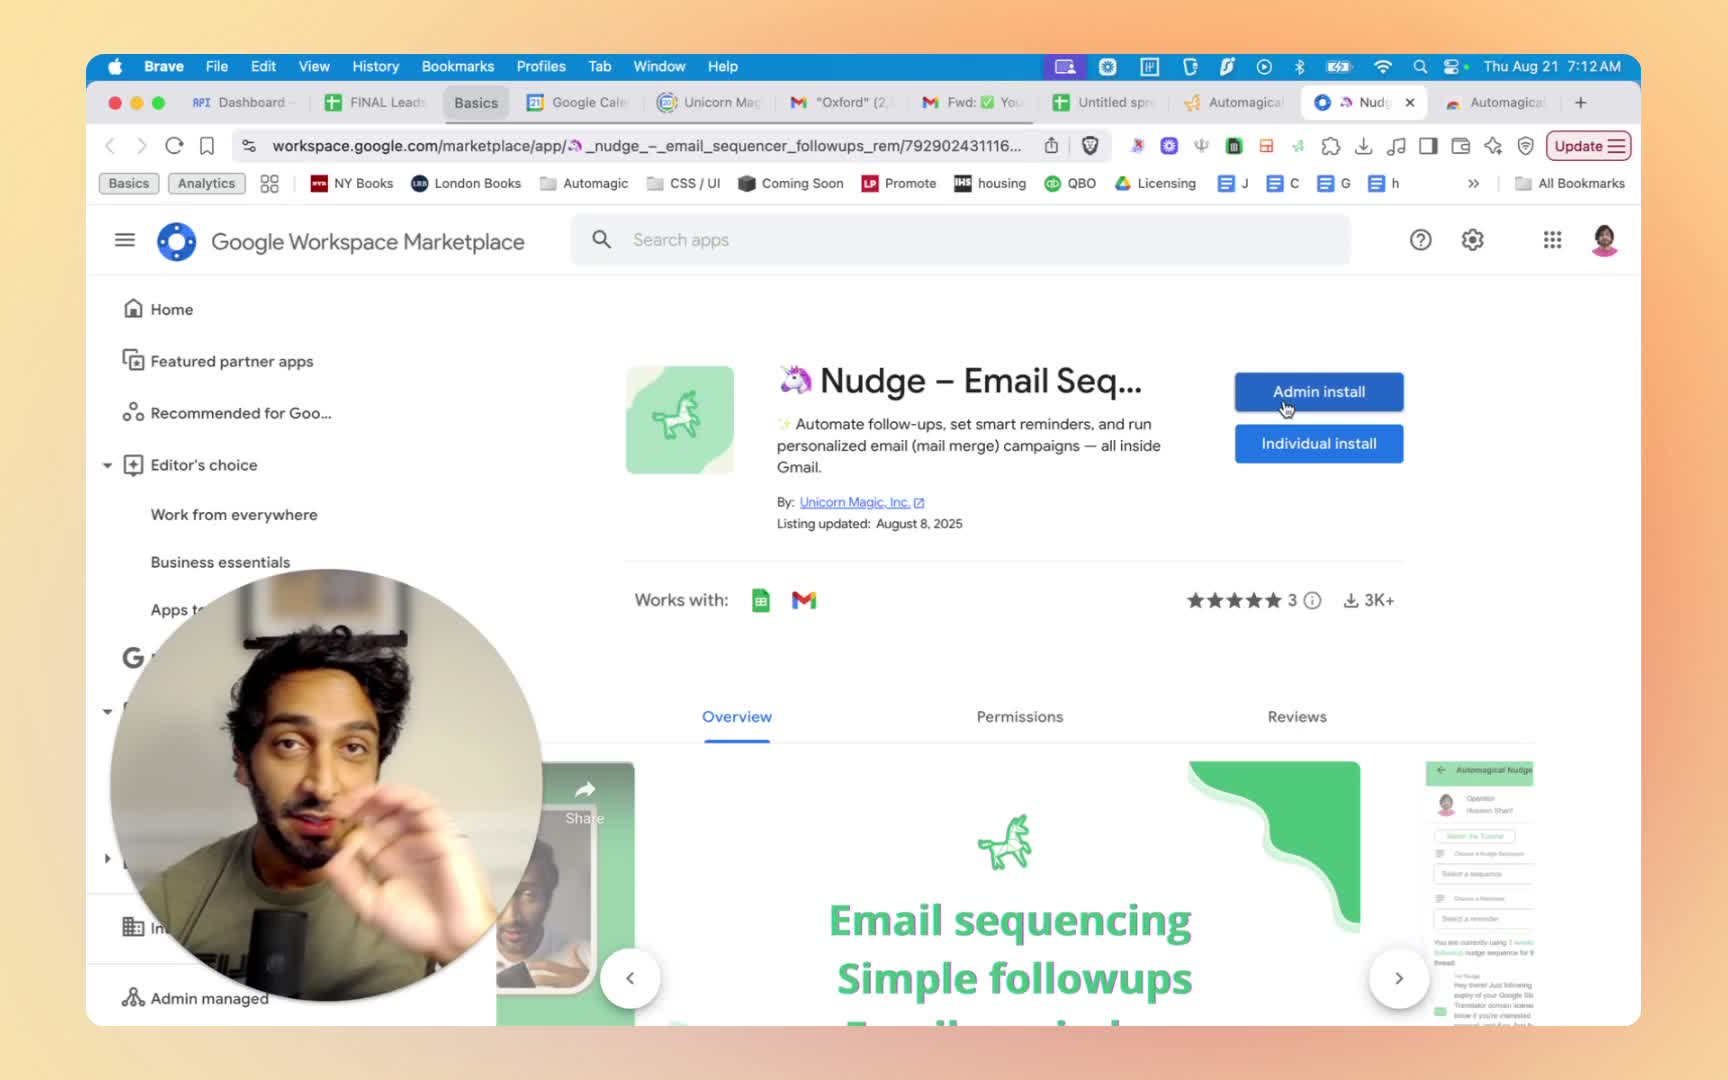
Step 1: Install the Google Workspace Add-on 0:19
- Go to the Google Workspace store.
- Search for ‘Automagical Nudge’.
- Choose between individual install (for personal use) or admin install (for company-wide access).
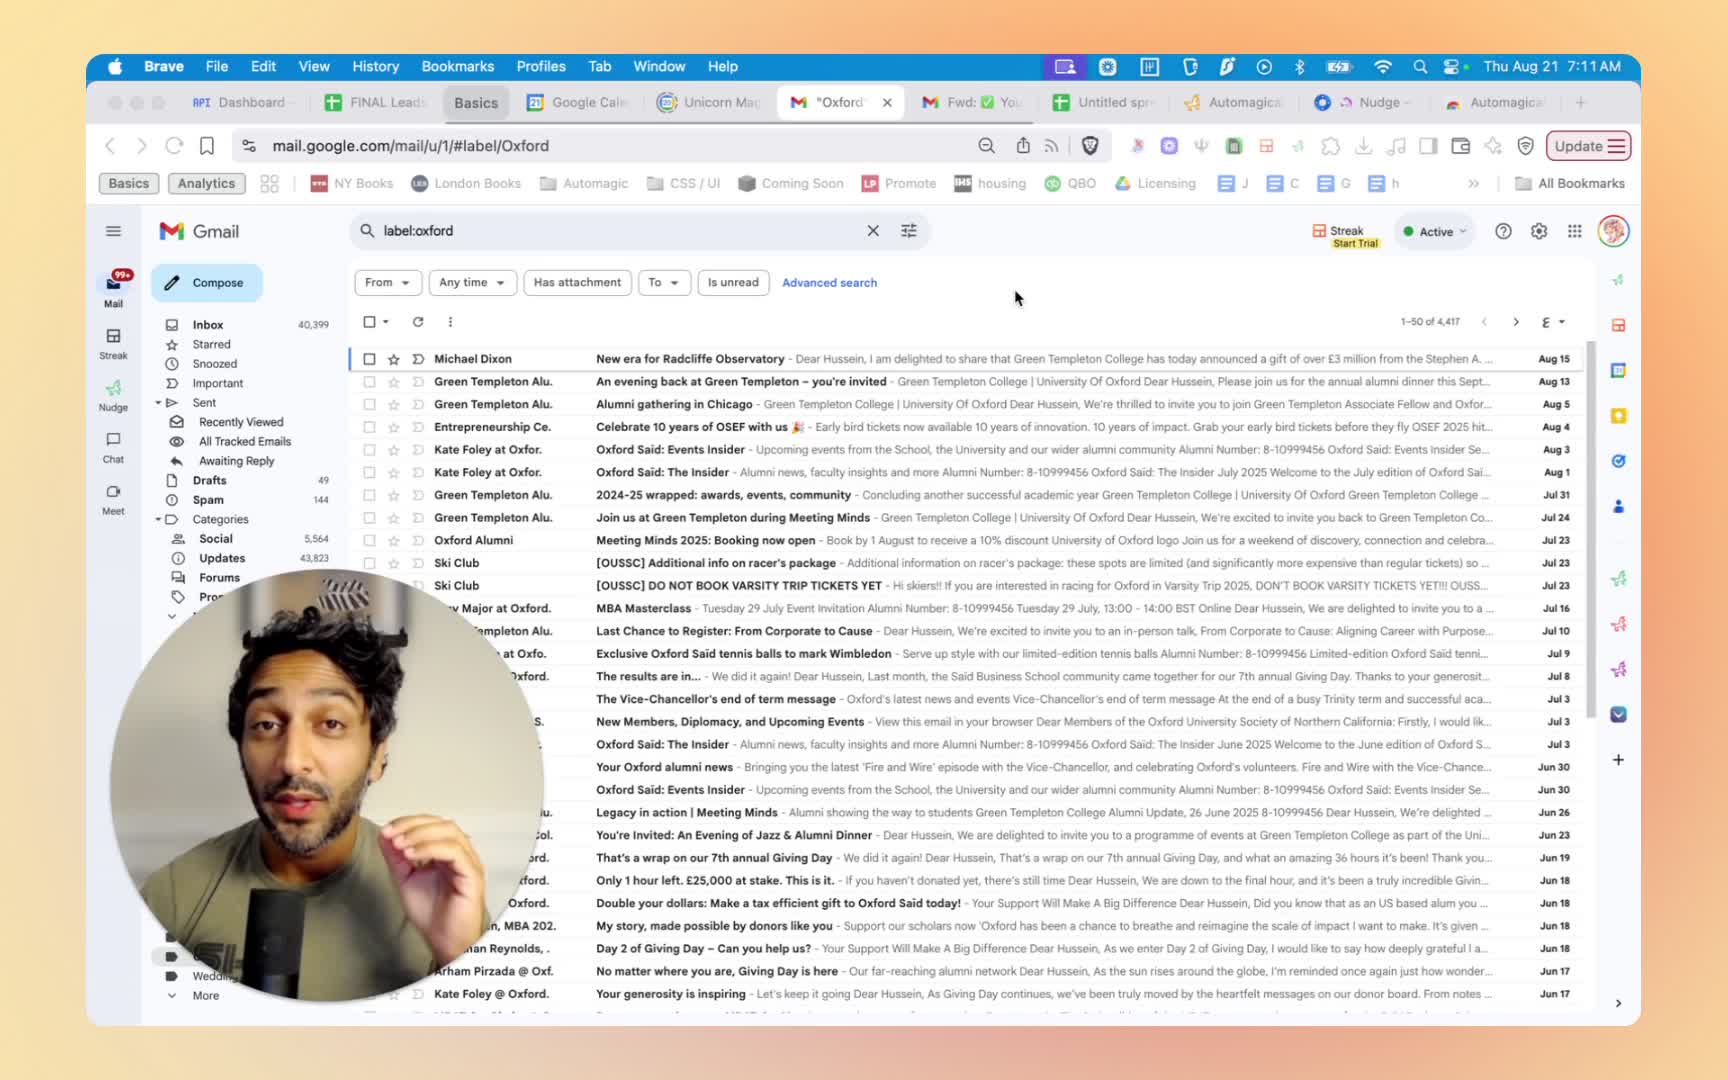
Step 2: Access Automagical Nudge in Gmail 0:40
- Open Gmail.
- Look for the green unicorn icon in the right-hand panel.
- If the panel is not visible, slide it out.
Step 3: Connect to Gmail 1:12
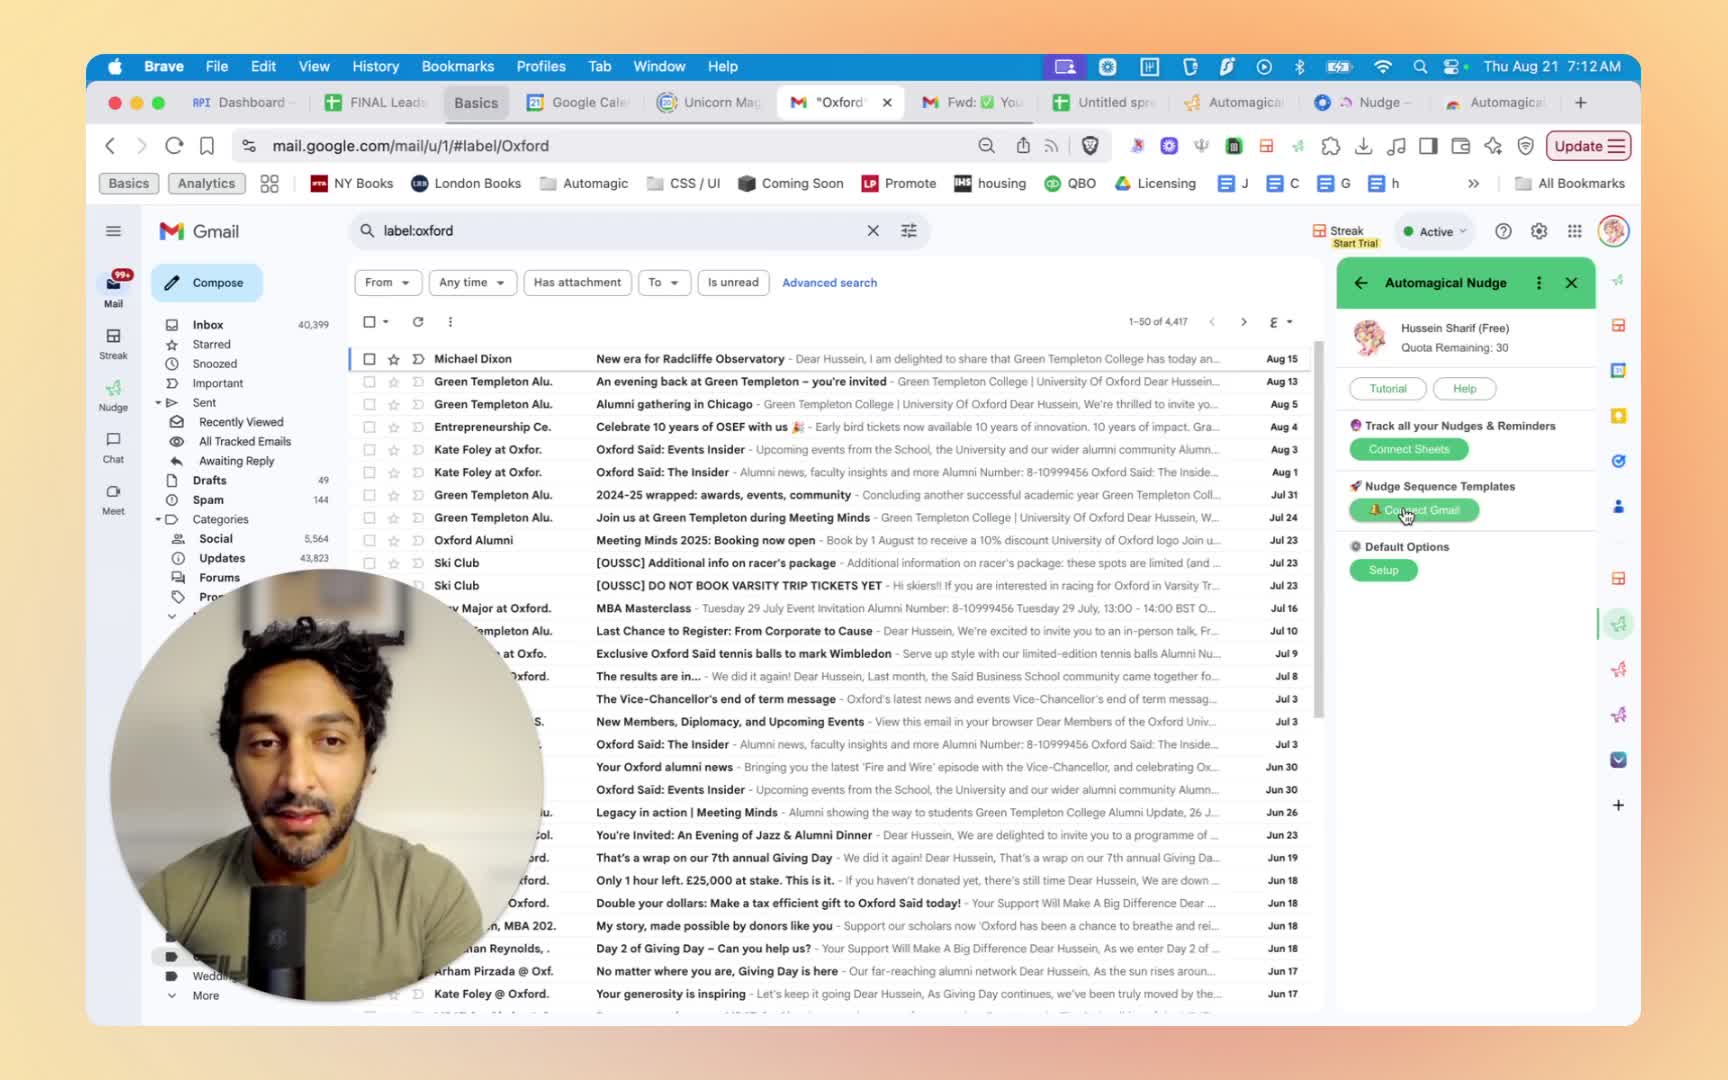
- Click on the green unicorn icon.
- Select ‘Connect to Gmail’.
- Grant permission by choosing your email and checking all necessary boxes, then hit continue.
Step 4: Create a Nudge Template 2:28
- Click on ‘Create Template’.
- Name your template and set your nudge messages with specific timings.
- Save the sequence.
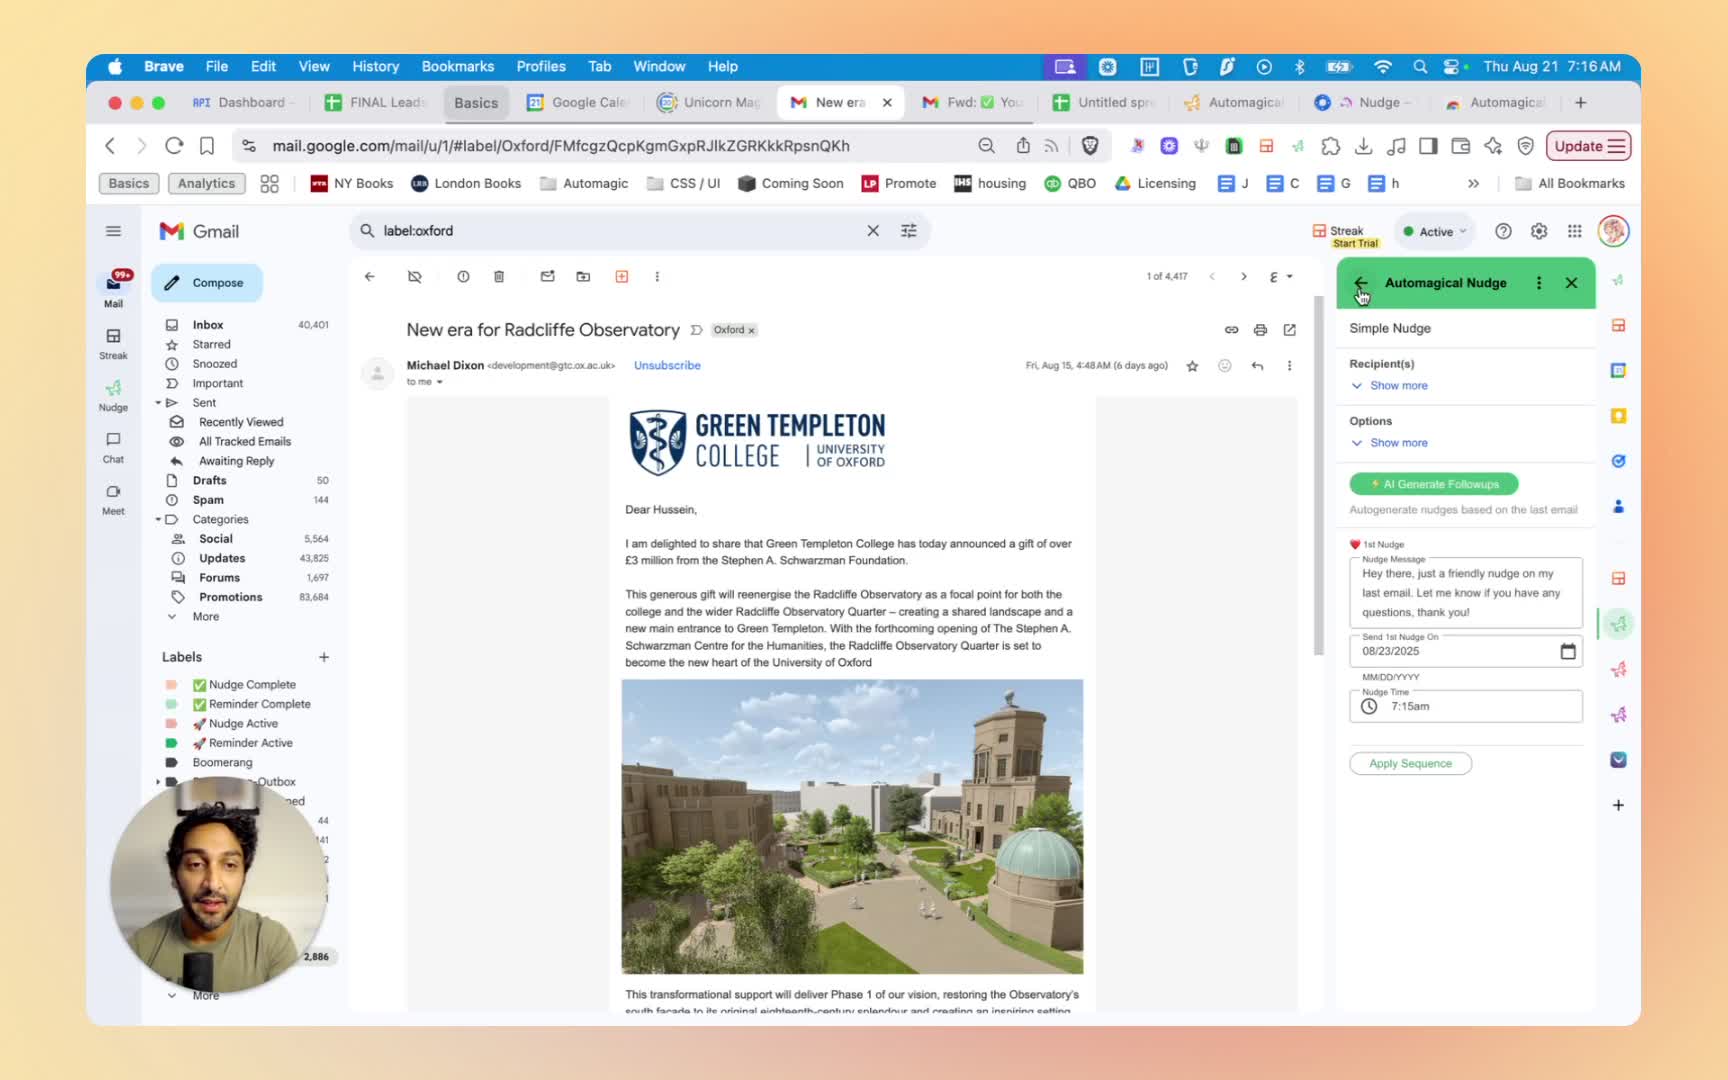
Step 5: Set Up a Nudge Sequence 3:29
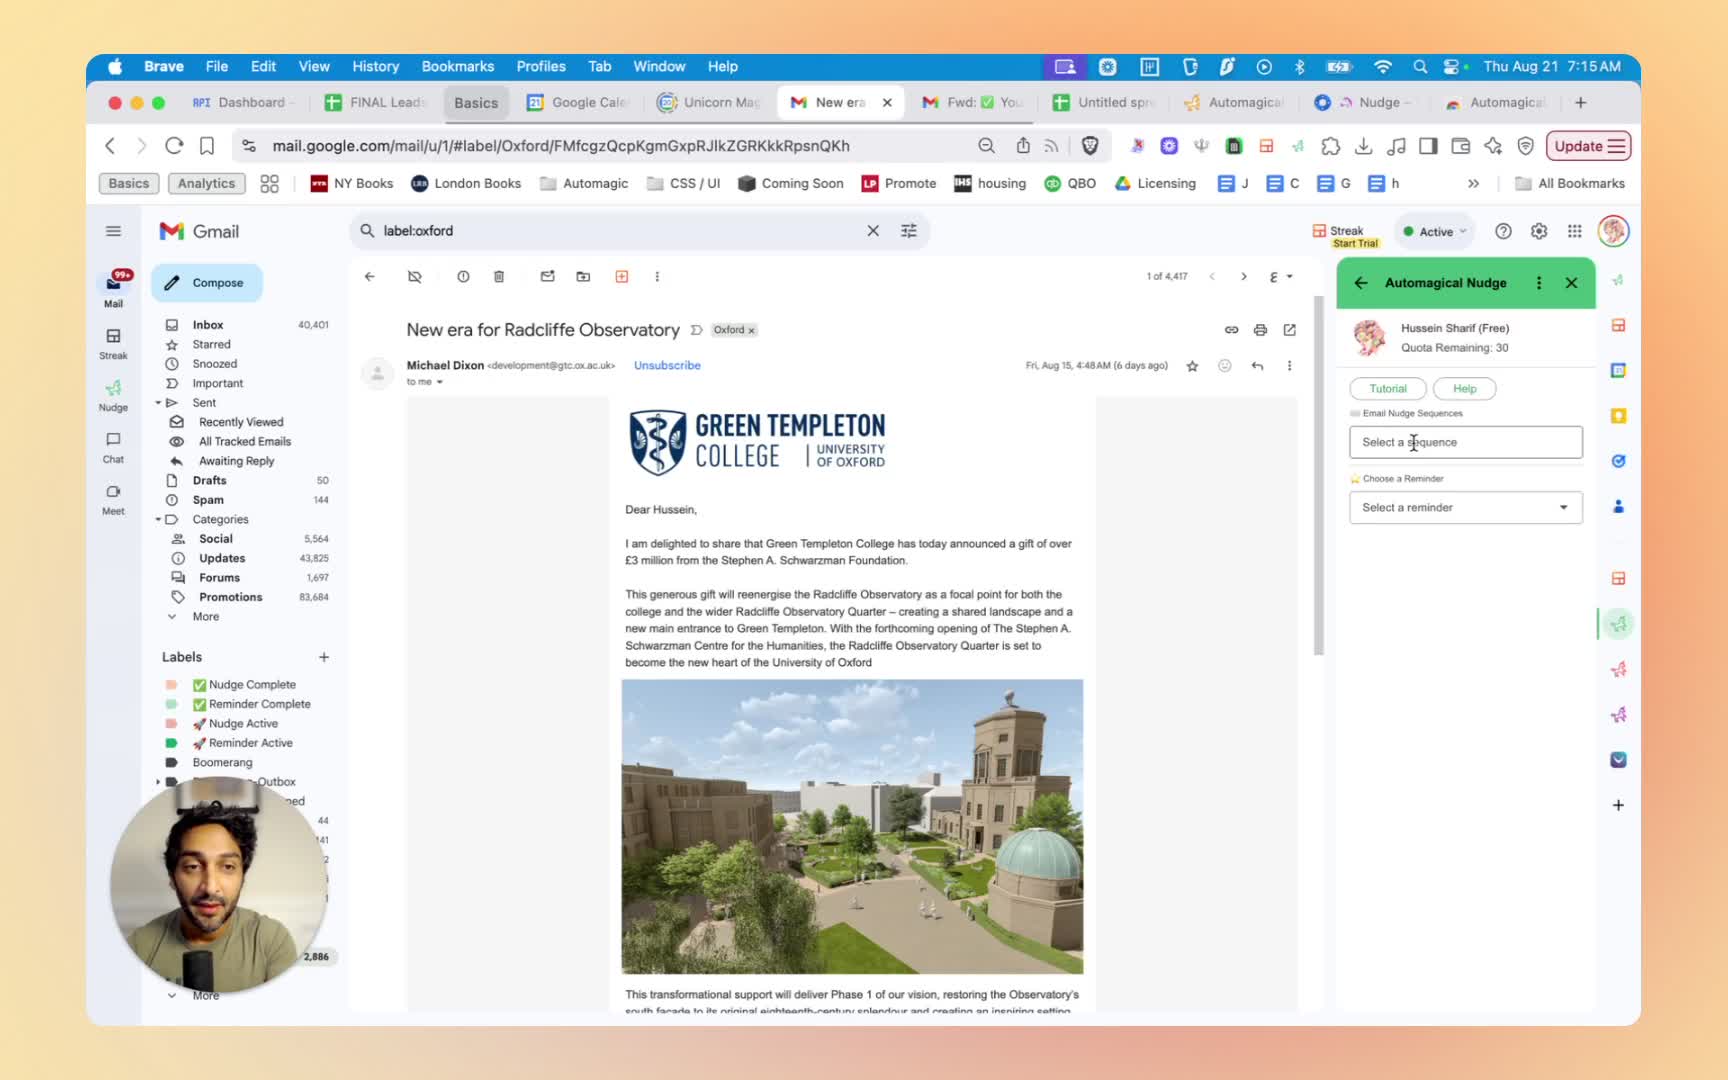
- Open an email you want to nudge.
- Select ‘Nudge Sequence’ and choose ‘Simple Nudge’.
- Modify the date, time, and message as needed, then hit ‘Apply Sequence’.
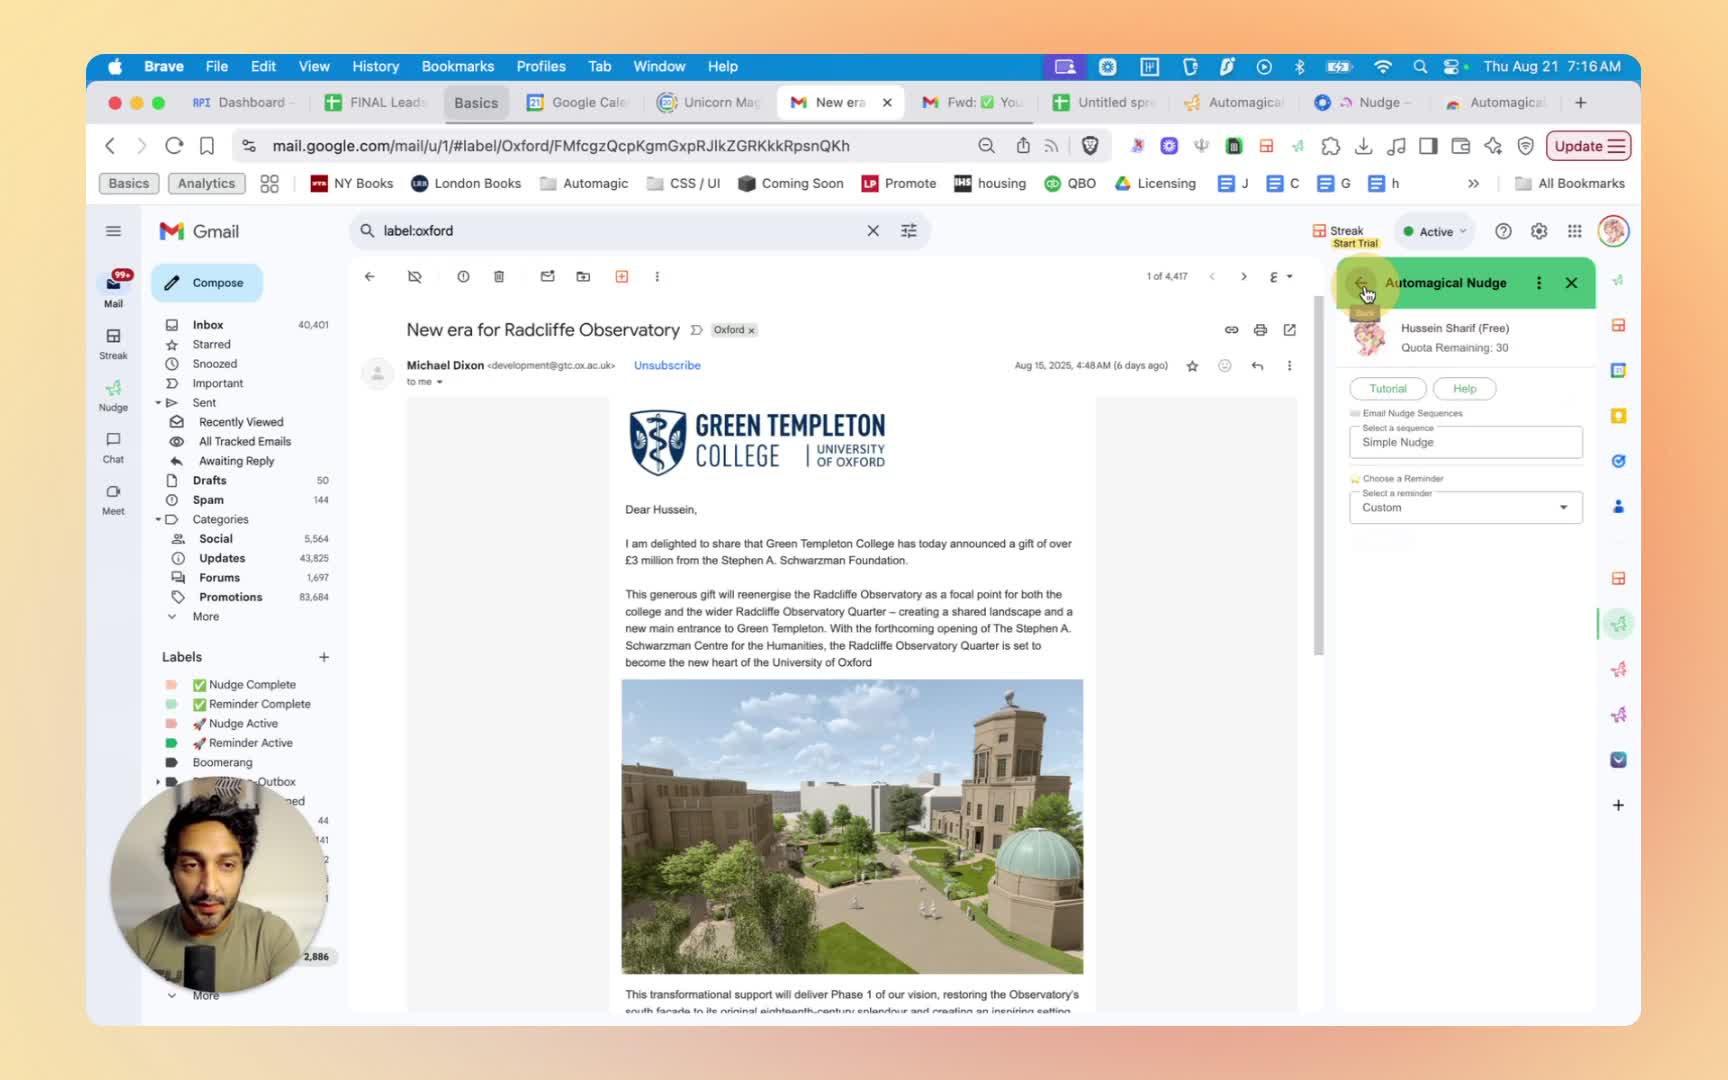
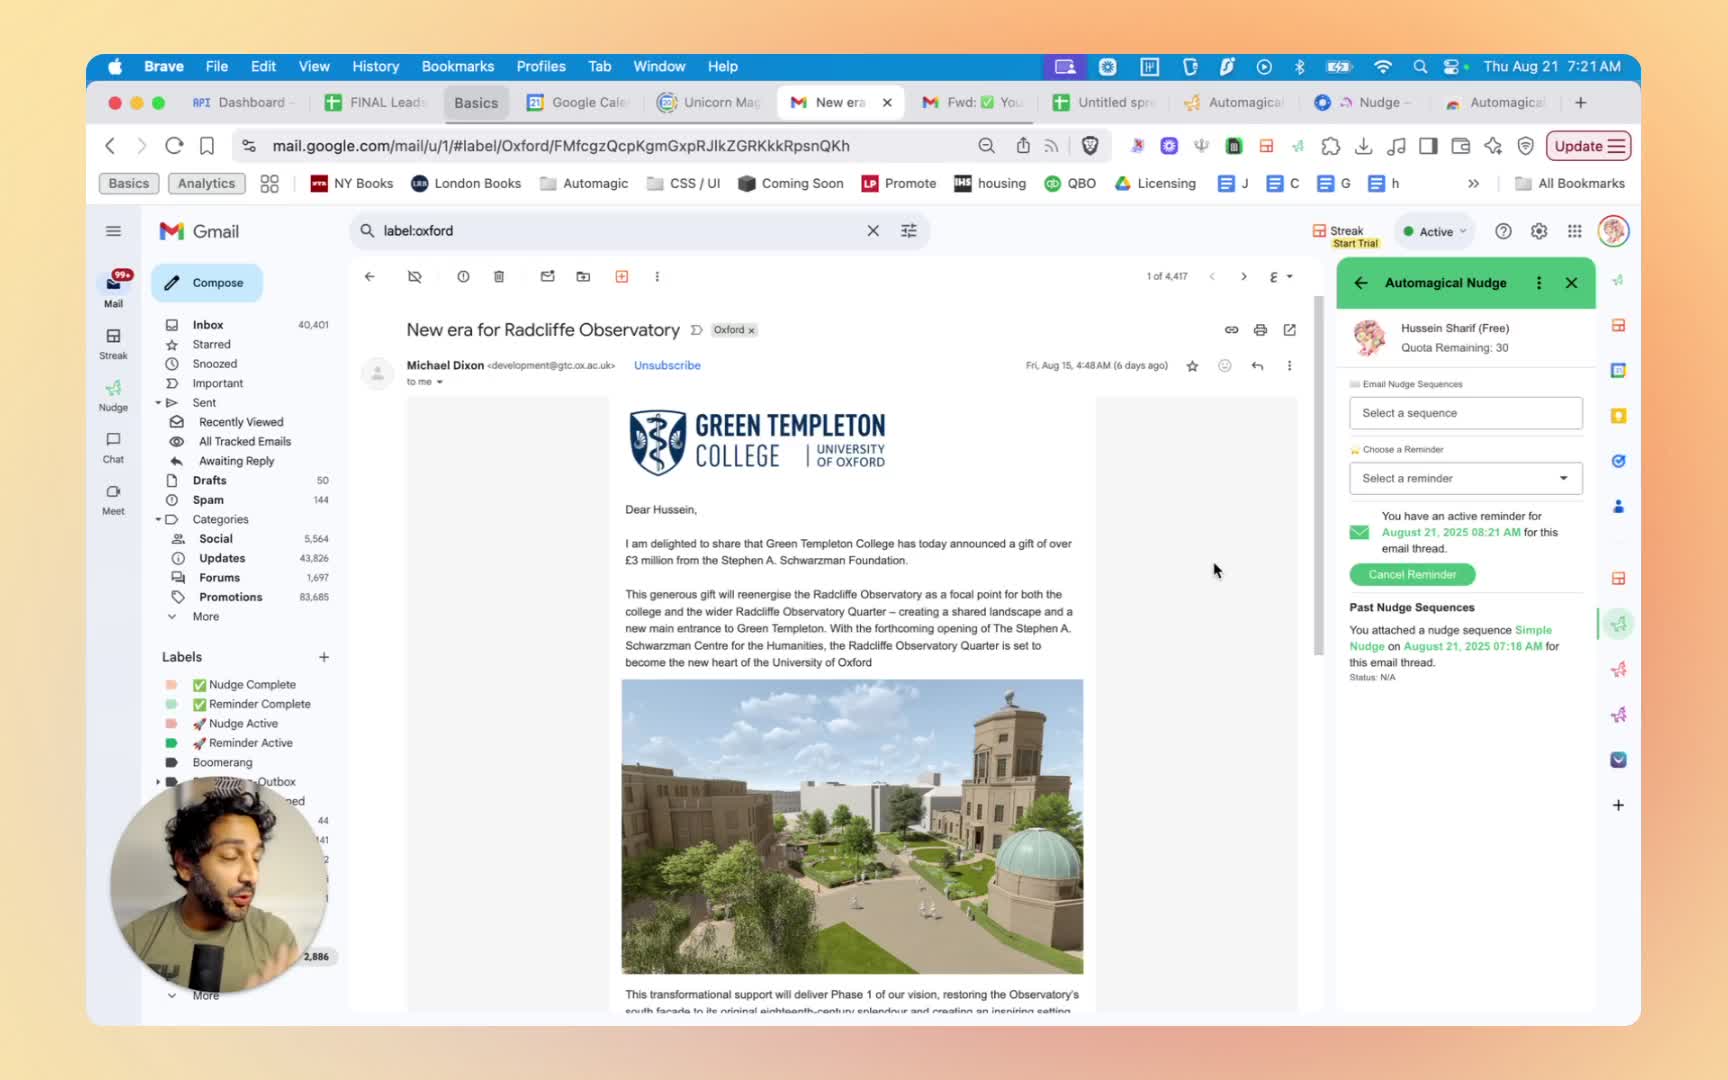
Step 6: Set Up Reminders 4:33
- Use the sidebar to set reminders for emails.
- Choose between preset reminders or create a custom reminder.
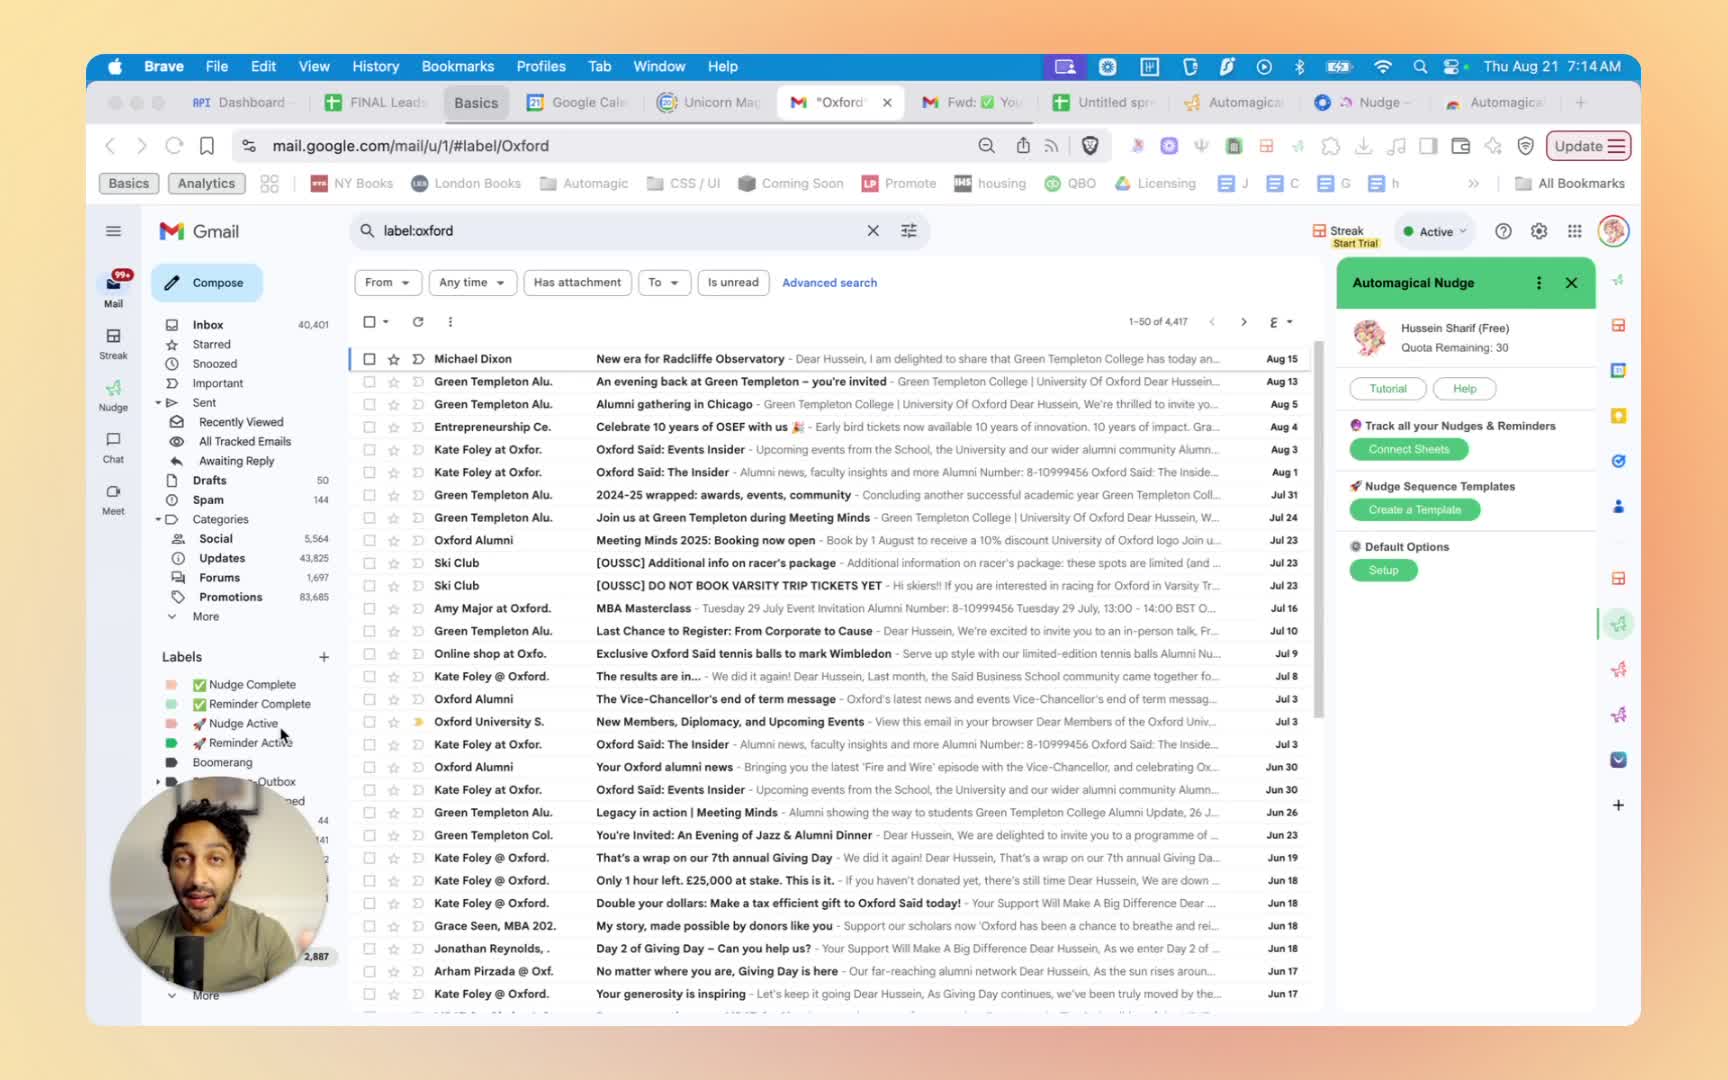
Step 7: Connect Google Sheets 5:01
- Click on ‘Connect Google Sheets’.
- Follow the same process as connecting Gmail to track nudges and reminders.
Step 8: Install the Chrome Extension 5:20
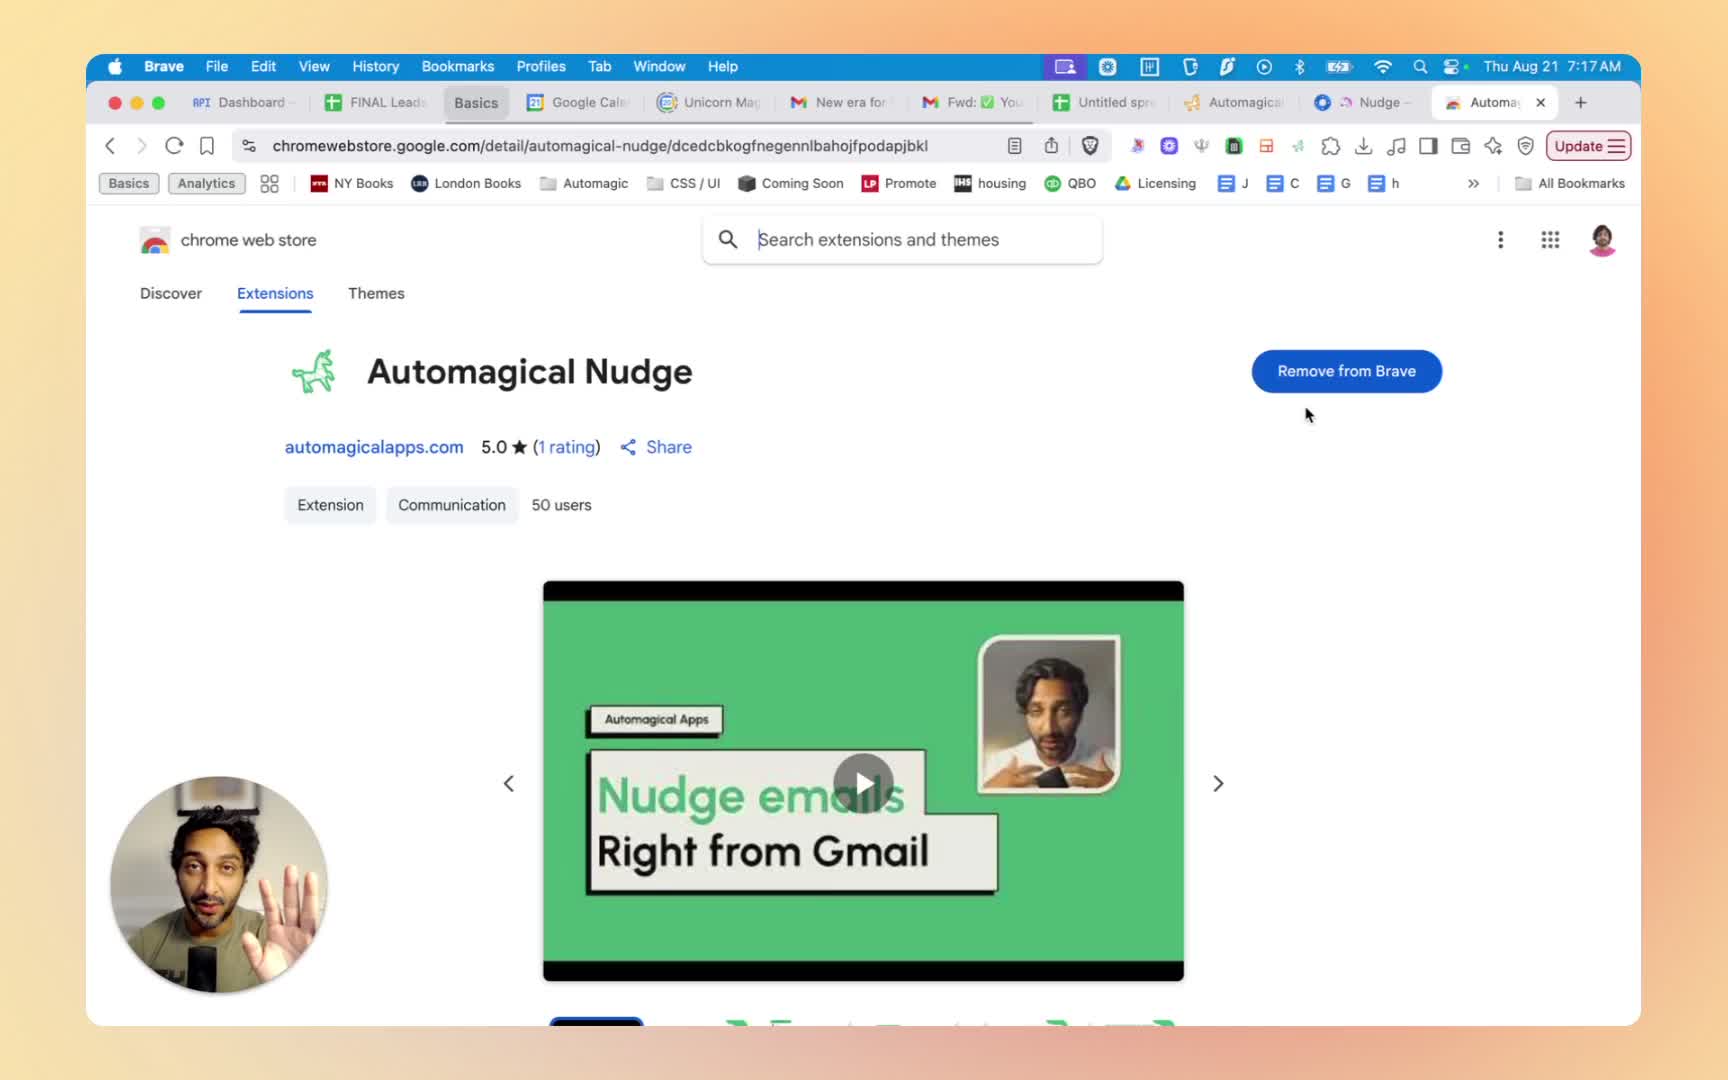
- Download the Automagical Nudge Chrome extension from the Chrome Web Store.
- Pin the extension to your browser for easy access.
Step 9: Sign In to the Chrome Extension 5:48
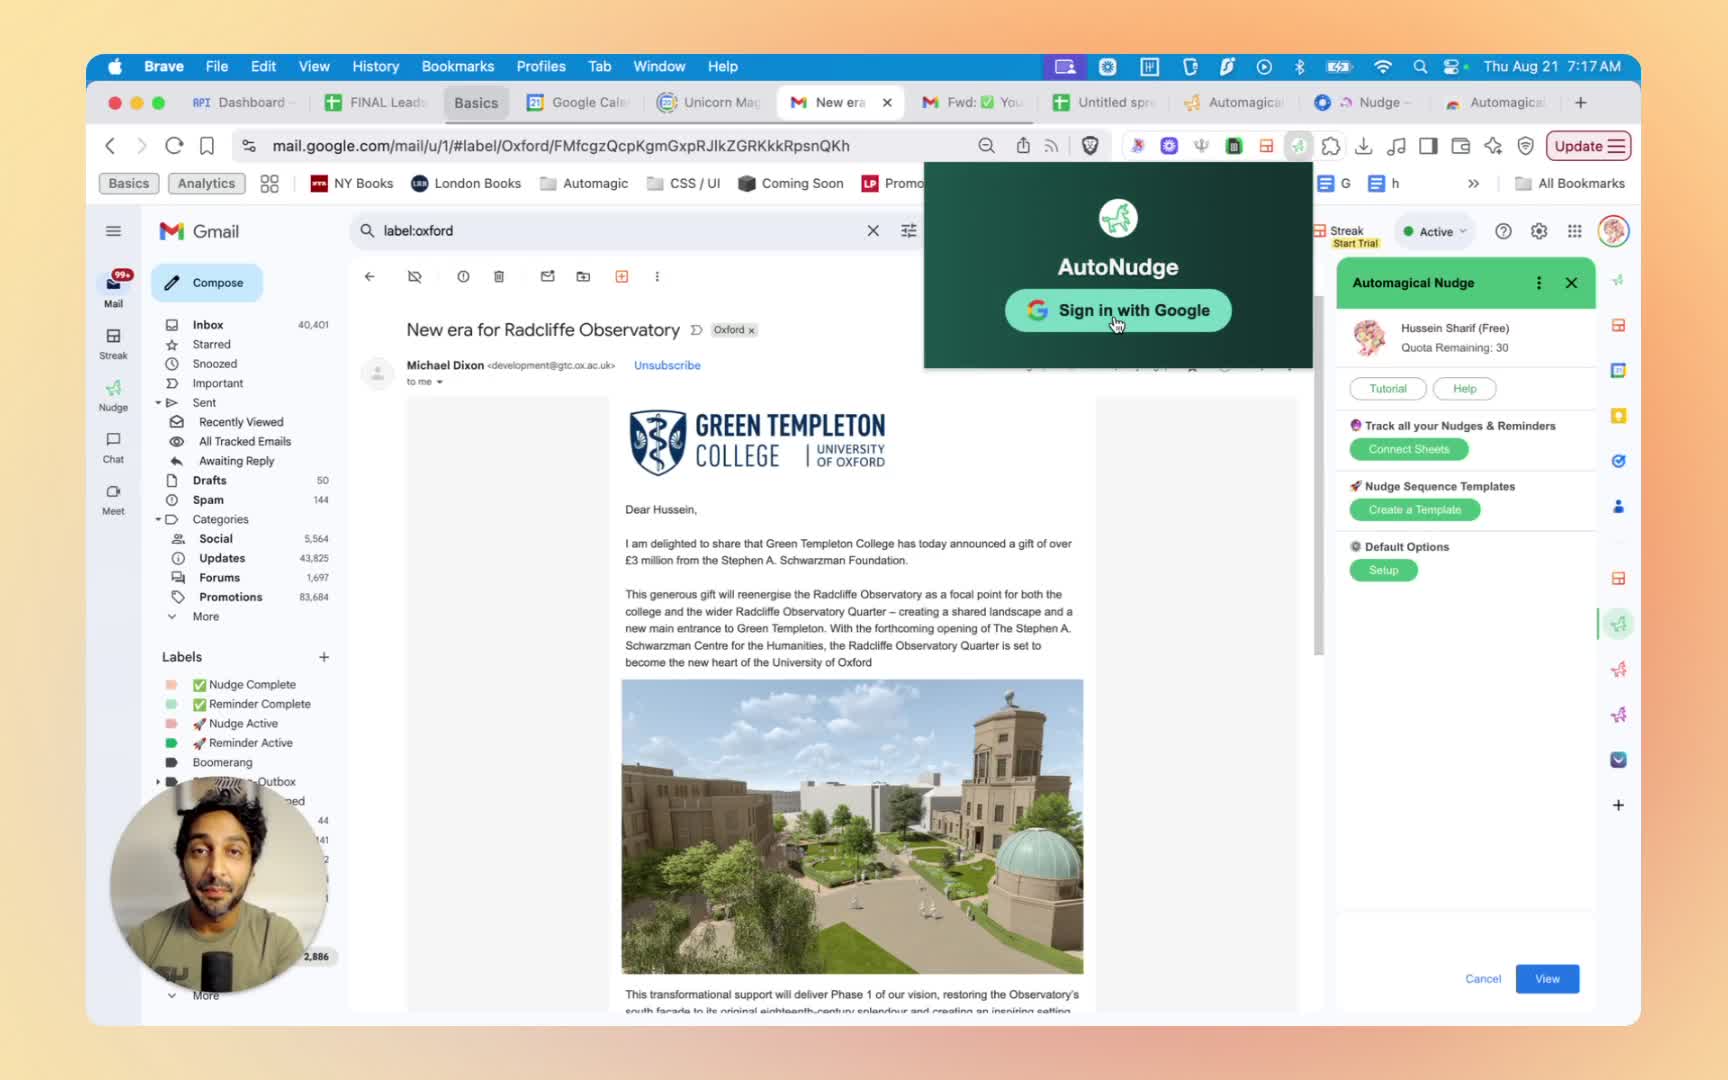
- Click the sign-in button in the Chrome extension.
- Choose your account and hit continue.
Step 10: Use the Chrome Extension 6:24
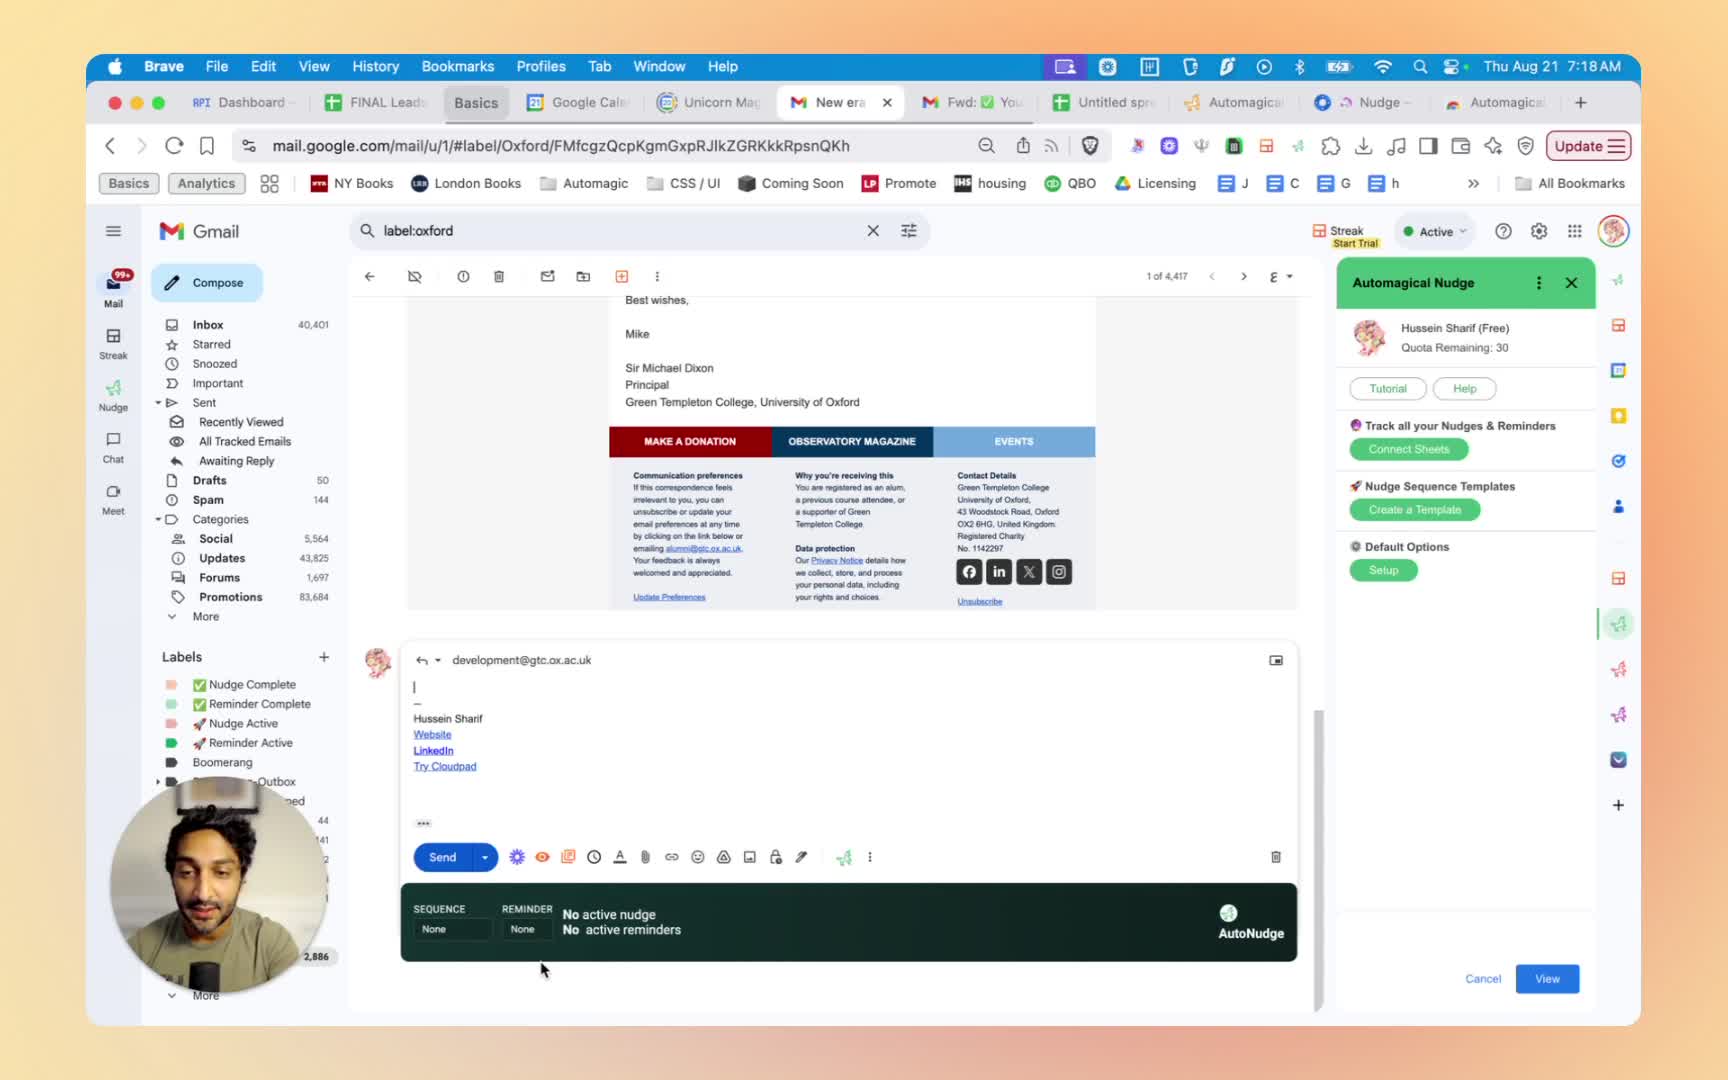
- Compose an email and attach a nudge sequence directly from the compose window.
- Use the sidebar to manage nudges and reminders for sent emails.
Step 11: Access Nudges in Gmail Mobile App 9:11
- Use the Gmail mobile app to access nudges and reminders without additional downloads.
Cautionary Notes
- Ensure you have the necessary permissions to install the add-on for your company.
- Always check the permissions requested during the Gmail connection process to ensure they are appropriate.
Tips for Efficiency
- Regularly review and update your nudge templates to keep them relevant.
- Utilize the Google Sheets connection to track your nudges and reminders effectively.